Sunday, July 12, 2009

New Shed Doors

Many of the wooden sheds have doors that are rotting or do not fit properly. Recently my son and I built new doors for a shed. We do a variety of carpentry jobs in our handyman business. On this job, we were able to drive the van close to the shed, which made unloading materials and tools much easier.

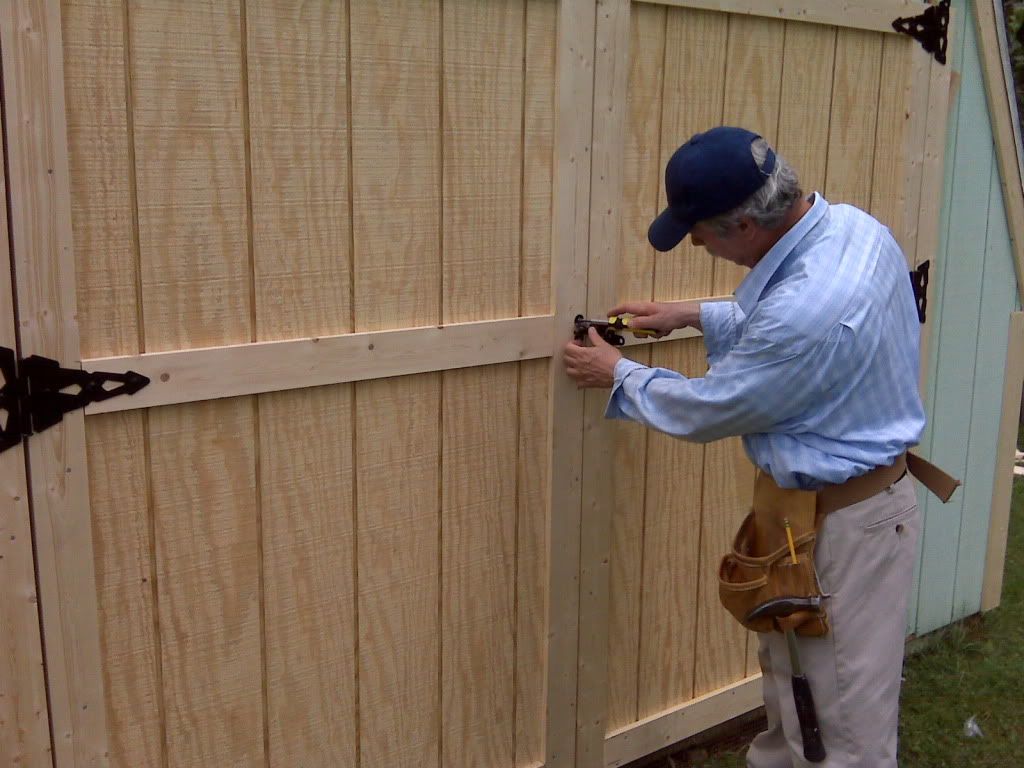
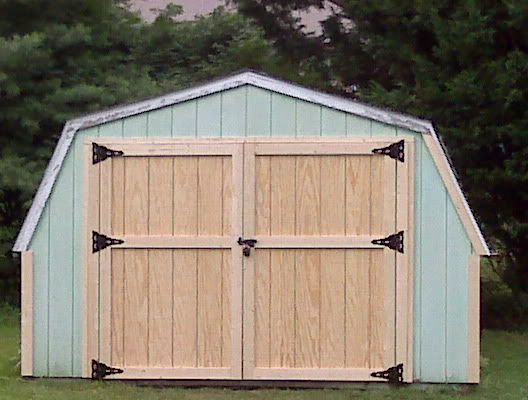
We framed and sheathed the doors and installed the trim. Then we attached the hinges and the latch, which will be used with a padlock. We also built a small ramp for the lawn tractor. The old doors and scraps were placed in the van to be taken to the landfill.

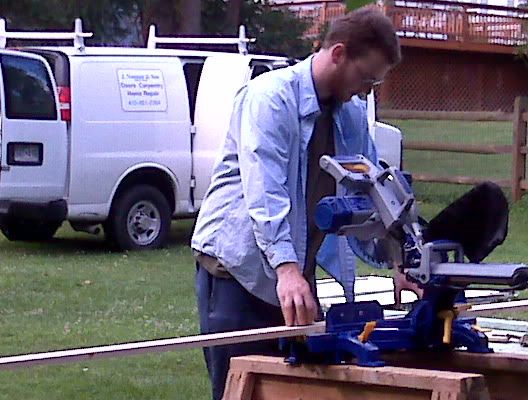
The photos below show us at work in our handyman business. The first photo is of my son, Jim using our saw to cut trim for the shed doors. In the second photo, I am installing the latch. The third photo shows the completed doors; before, the doors and shed are prepared for priming and painting.
Photobucket


Photobucket


Photobucket

Friday, July 3, 2009

Reversing the swing of a door

I recently did a small carpentry job so that an interior door that opened into a room would open out instead. I have reversed the swing of both interior and exterior doors many times over the years. As a handyman and carpenter, I enjoy working on doors.

On this door I reversed the swing without removing or disturbing the jamb or the door trim. I first removed the door, hinges and door stops. I mortised the jamb on the outside with a chisel and mallet for the hinges and I installed the leafs of the hinges in the new locations. Then, I reversed the position of the other leafs of the hinges on the door after also using the mallet and chisel.

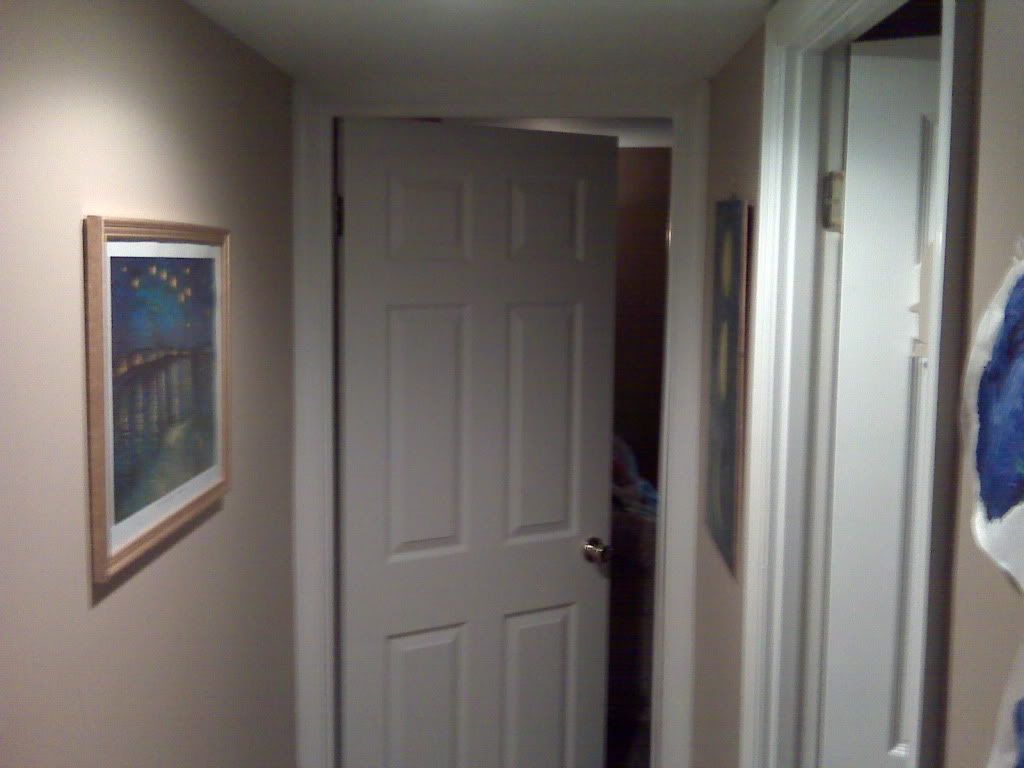
Next, new stops were attached to the jamb and the stike bore for the door knob was drilled. The knob was installed and the strike plate. The old mortise positions for the hinges and the strike area needed to be patched before painting. The door now opens out, instead of swinging in and it works very well.

The photos below illustrate the reverse of the swing of the door.


Photobucket


Photobucket

Wednesday, July 1, 2009

Carpentry: Pass Through

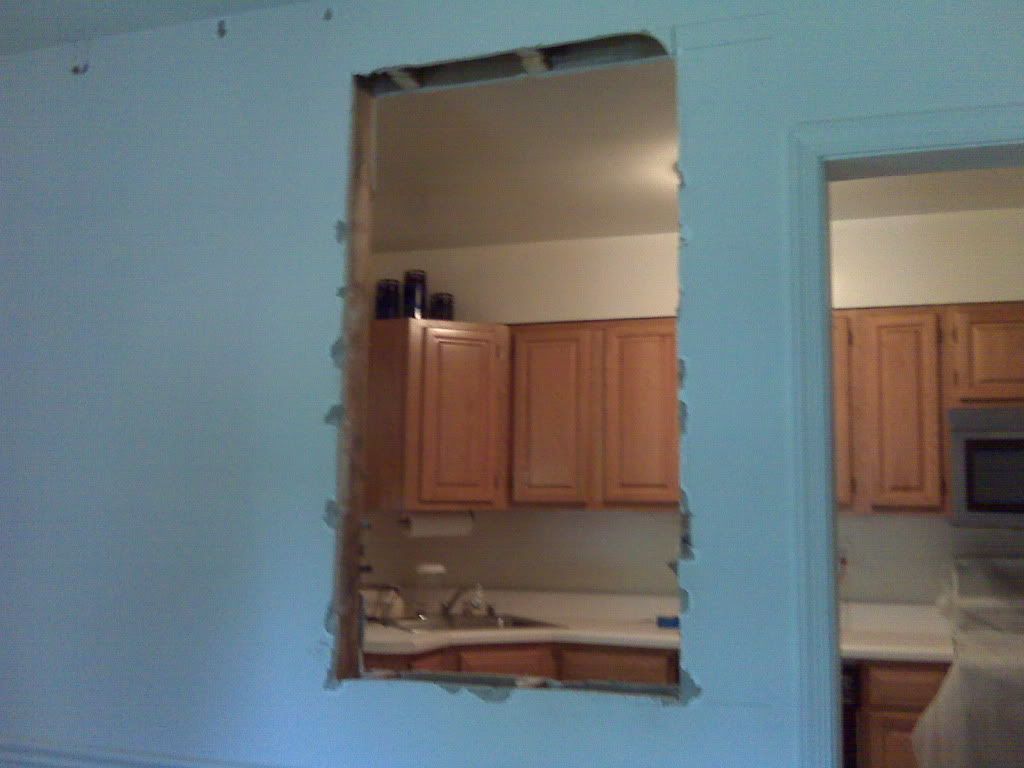
Recently we finished a carpentry job which consisted of building a pass through in the wall between the kitchen and dining room. Like many of the older homes , the walls were plaster and the dimensions of the framing was a little different than the lumber that is currently available.

Cutting out the wall for the initial demolition was a bit more difficult than working with sheetrock walls. The plaster is harder to cut through and messier than modern drywall. We determined that the wall was not load bearing.

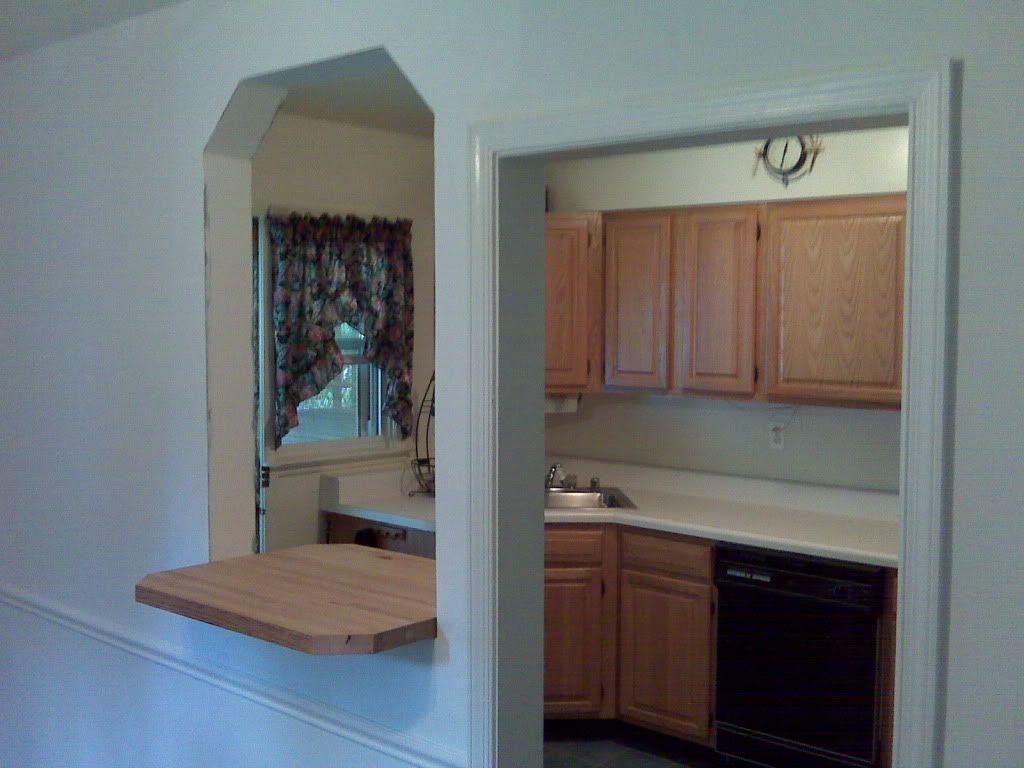
We framed the wall to match the original arch that is located between the living room and dining room and covered the new framing with sheetrock after making adjustments for the thickness of the old wall. The customer obtained a very nice wooden piece that we used as the counter top. The result is a custom made , one of a kind improvement to a very solid house.

In the first photo below, the cut out for the pass through is shown. In the second photo, the job is almost complete, except for priming and painting of the walls, staining the counter top and installing the brackets for the counter top.


Photobucket

Photobucket